Welcome to the Manual page for Accessing your Customized and Complimentary website. This has been setup for you automatically upon joining Small Business Dream and for your convenience, so that you can easily and creatively design what you want your prospective customers to see. We have also added this feature to our new Small Business Dream App, so you can setup your Vendor Page from there as well. Below, you will find the detailed steps for learning how to setup your vendor page from your Computer.
Via Computer Browser
Step 1: On the home page, click on Directory Setup on the left side of the page.

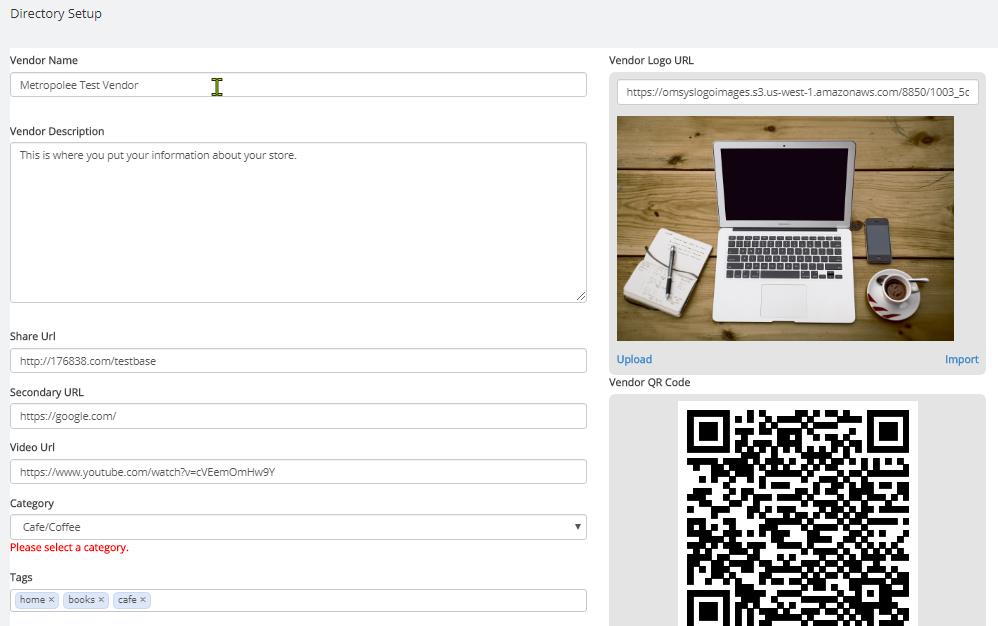
Step 2: On this page, you will then enter the name of your store, your contact number, a description of your store, upload a vendor logo, etc. As mentioned, get creative in this step to grab the attention of your prospective customers.
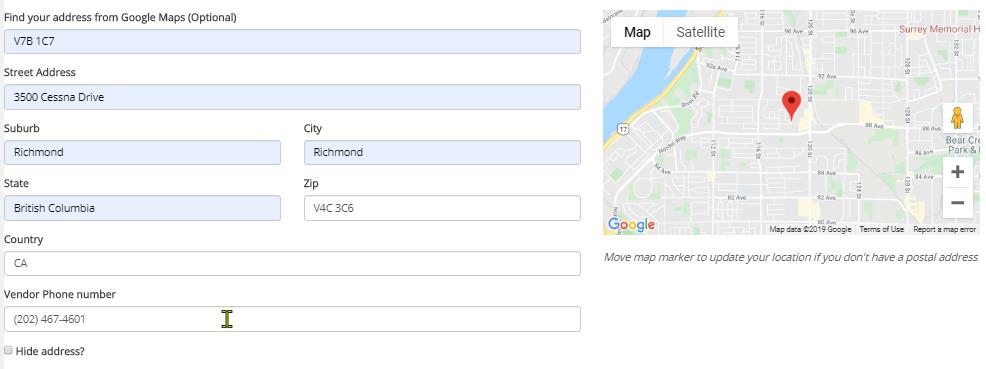
Step 3: Continue down to the bottom of this page where you will enter all the Address details that you want to share. Put in as much information as you want others to see.
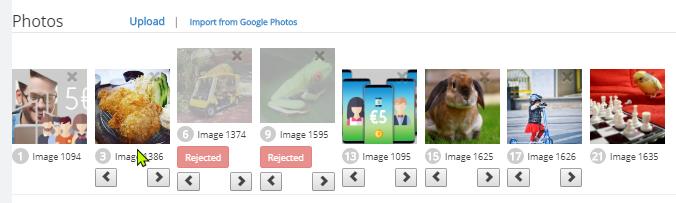
Step 4: At the bottom of this page, choose and upload your favorite photos. You can also Import your photos saved from Google Photos by using the option there.
Once done with setting up your vendor details, click on the blue Save Vendor Details button
at the bottom right of the page. Directly beside this button is the green Publish button.
DO NOT click on this until you are ready for your store to go LIVE..

Via Mobile App
In our Mobile App (as mentioned above), a cool feature is giving you the ability to setup your Vendor account from inside the App. To do this and setup all of your Vendor details, the steps are similar to the above explanation. Simply click on the 3 lines at the top left of the page inside the App. You will then see a window, where you will simply click on the Store Details to get started. Enjoy the process.
Additional details to complete your Custom Website..
Via this system, you can edit your Sales Funnels, Introduction and Presentation Pages, as well as the Surveys you want to present to your prospects. In addition to creating new funnels, these pages can also be a part of your Complimentary and Customized website. To quickly learn how to edit the other pages on your Customized Website, review the Tutorials from the right side of this page under Quick Access: Tutorials or from the Main Tutorials link at the top right of this page: